HOW TO MAKE A FIRE STARTER
As any bushcrafter knows, there isn't always a fire pit or a wood stove available when you are out in the wilderness. The ability to start and maintain a fire is crucial when you're camping or prepping for potential survival situations. Not only does a fire provide essential heat and light, but a well-managed fire also serves other survival purposes such as cooking meals, boiling water, and signaling for help.
Creating your own fire starter can be a game-changer. It's inexpensive, efficient, and rewards you with the satisfaction of becoming more self-reliant. Imagine having a handful of ready-made fire starters for your next camping trip or outdoor adventure, all made using simple household materials you probably already have. Not only this, but you can also design your fire starters to suit your specific needs and preferences by choosing from several potential components such as dryer lint, egg cartons, candle wax, and cotton balls.
The Short Answer: Here is a quick step-by-step on how to create your own fire starters...
- Shave Wood
- Melt Wax
- Combine the Mixture
- Store in an airtight container
Common Issues with Starting a Fire
Before we dive into how you can make your very own fire starter, let's discuss some common factors that often prevent successfully starting a fire.
Dealing with Wet Conditions
One frequent hiccup is attempting to start a fire with wet wood. The moisture content in the wood will prevent it from igniting, resulting in a lot of smoke and frustration. It's especially troublesome during rainy weather or after a sudden unexpected downpour. Successfully overcoming such situations by incorporating a fire starter can greatly reduce frustration and instill newfound confidence in your outdoor living skills. The wax-coated wood shavings (or saw dust) provide a consistent and easily ignitable source that burns longer and hotter than natural tinder, ensuring reliable ignition even in wet conditions.
Lack of Kindling
Another issue often overlooked is the importance of smaller pieces or kindling in building a fire. Lacking these easily ignitable pieces in your fire, you may end up with a fire that burns out too quickly, or worst case scenario, one that refuses to start at all. The beauty of a fire starter is it's a ready-made bundle of kindling, providing an ignition point to your fire with minimum fuss.
Insufficient Oxygen
With the proper fire-starting material in hand, you're only halfway there. How we arrange our firewood can either make or break the fire. A common mistake many of us make is packing our fire materials too tightly, leaving little to no room for oxygen circulation. Without this necessary oxygen, your fire will be short-lived. Fire starters lend themselves to this situation well since they establish a strong initial fire which can then be built upon, allowing you to slowly add wood for optimal oxygen flow.
Lack of an Ignition Source
Sometimes, the materials you have to spark a flame are not ideal. Matches may be wet, lighters may be out of fuel, and rubbing two sticks together is not as easy as the movies make it look. A fire starter is a reliable, quick-action ignition source that can make this step a whole lot easier.
How to Make a Fire Starter
Preparation is key to success when creating fire starters, so begin by gathering essential materials. Believe it or not, most of these are everyday household items. To start with, you can use dryer lint, wood shavings, or sawdust, old candles, paper egg cartons, cotton balls, and petroleum jelly.
Step 1: Preparing Your Fire Starter
Start with your egg carton. Fill each cavity with dryer lint or sawdust. These act as excellent absorbing agents for the wax that will be poured in, making them ideal for starting your fire.
Step 2: Melting the Wax
Next up, you’ll want to prepare your hot wax. You can use paraffin wax, or for a simpler, cost-effective option, consider using old candles. Melt your wax using a double boiler. Don’t have one? No worries. You can easily use a makeshift double boiler by placing a tin can in a pot of boiling water. Pour this melted wax into the lint or sawdust filled carton trays.
Step 3: Adding More Fuel
To give your fire starter an extra boost, consider adding in some other materials. Cotton balls or cotton string soaked in petroleum jelly make great additions. For a nature-friendly option, try using pine needles or small pine cones. Remember to push this additional fuel into the wax before it solidifies to ensure it sticks well.
Step 4: Setting Your Fire Starter
Once the wax hardens, you can cut the individual cavities apart. Each of these pieces now acts as a standalone fire starter. Handy, isn't it?
Step 5: Storing Your Fire Starters
Proper storage isn't just about prolonging the shelf-life of your fire starters. It's about ensuring they're easy to use even in adverse weather conditions. Always store your fire starters in an airtight container (such as a plastic bag) to keep them dry.
By following this guide, you'll have a set of homemade fire starters ready for any camping trip or survival situation. They're easy to make, highly effective, and can be a fun DIY project to do with friends or family.
How Smith's Can Help
Now that you've mastered the technique of creating DIY fire starters, it's time to introduce a tool that can make your life even easier. At Smith's, we offer solutions that take care of your needs in the most simplified and effective manner. One of our best-sellers is the Smith's Pack Pal Tinder Maker with Fire Starter. An indispensable addition to any emergency kit, this innovative product will ease all your fire-starting frustrations. Here is a guide on how to use it.
How to Use Smith’s Pack Pal Tinder Maker & Fire Starter
- Shave Wood: The Pack Pal Tinder Maker makes it easy for you to shave dry wood chips down into fine shavings thanks to the integrated stainless steel grater.
- Melt Vaseline: Next, heat some petroleum jelly over boiling water until it becomes liquid and translucent.
- Mix: Add the wood shavings to the hot vaseline and mix thoroughly.
- Store: We suggest an empty, clean toothpaste tube for quick storage and efficient application.
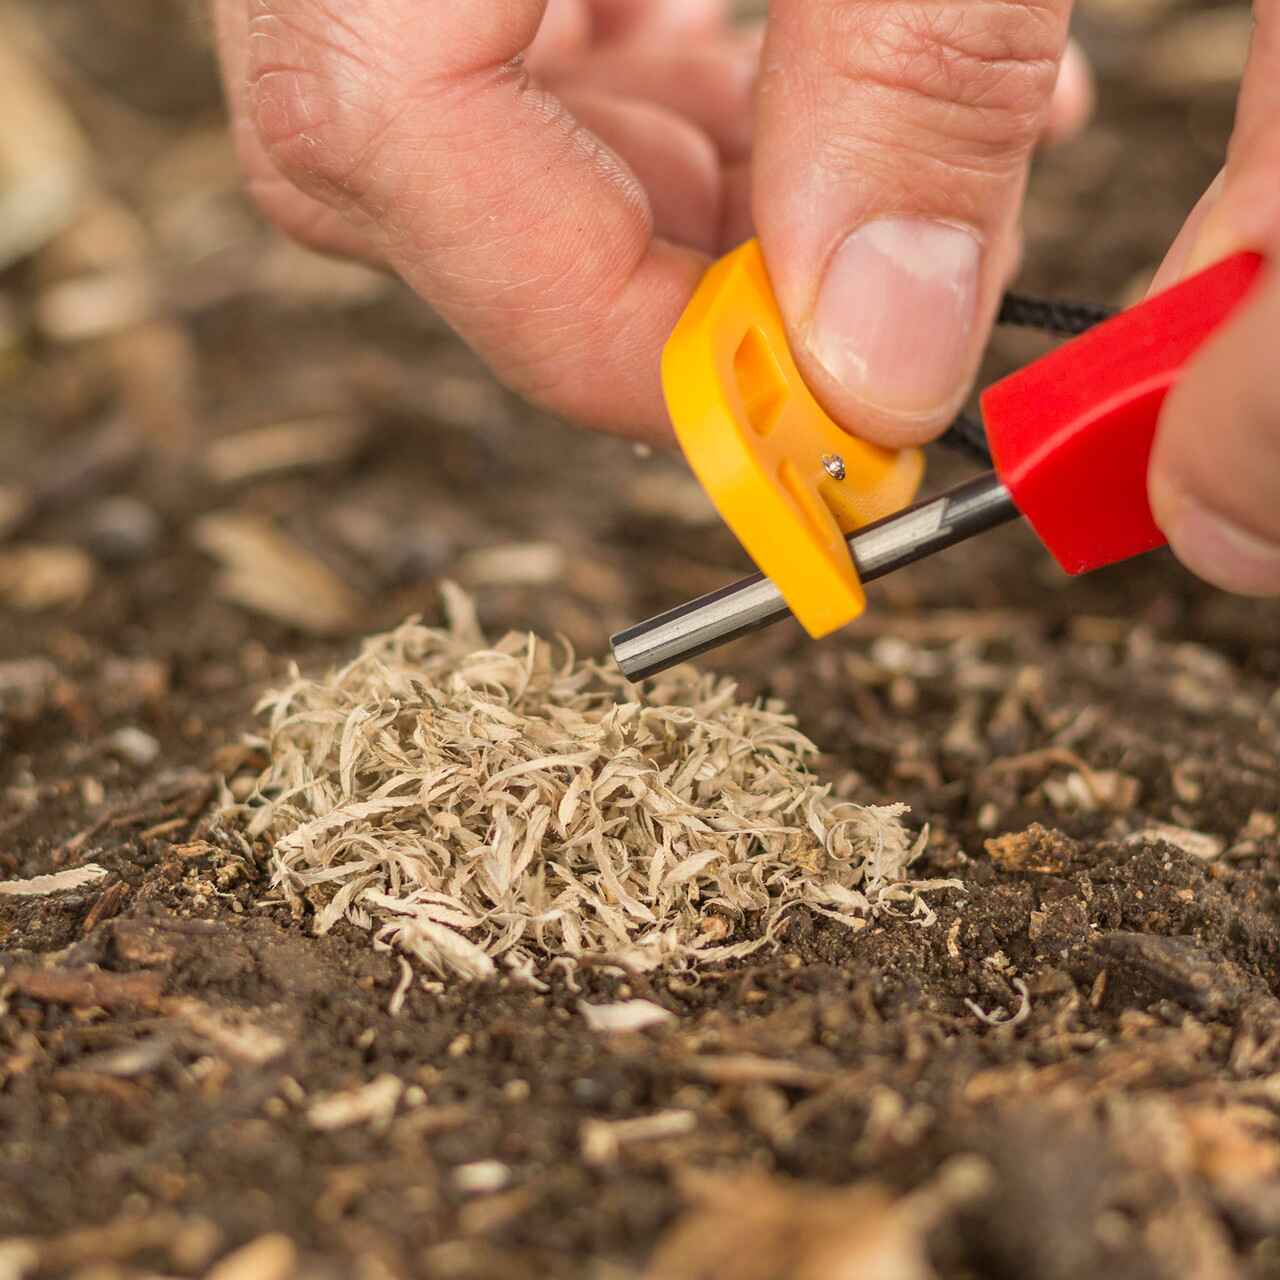
- Start Your Fire: Place the fire starter you just made on top of the fire’s kindling and use the striker on the tool to spark your fire.
By using Smith's Pack Pal Tinder Maker with Fire Starter, you not only simplify the process of making a fire starter but also make your outdoor tasks, camping trips, and survival situations less about stress and more about the experience. So the next time you're heading outdoors, let Smith's be your reliable partner. The comfort, effectiveness, and peace of mind we bring make every adventure better.
Check out our Survival Knives & Tools today and take the first step toward perfect preparation!


